Concrete countertops are a fantastic choice if you’re looking for a durable, modern, and user-friendly surface. They’re not just stylish and customizable; they’re also impressively sturdy. But are they right for you?
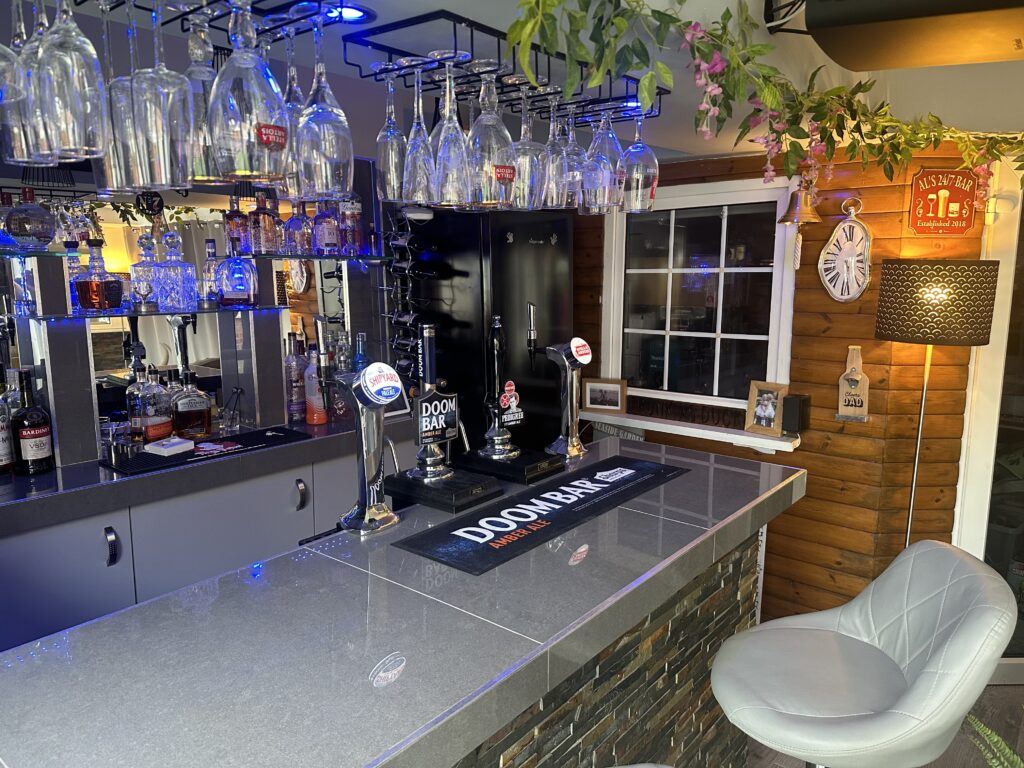
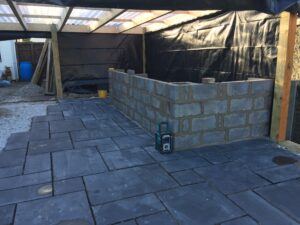
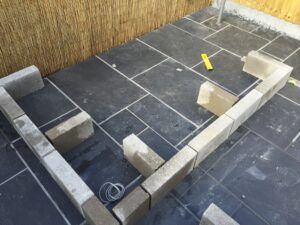
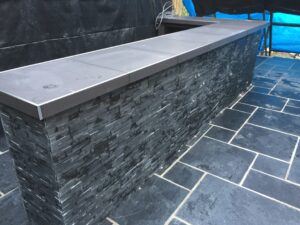
The bar top above we made from 50mm concrete slabs brought from a DIY store that came in a few different sizes. We used 600 x 600 mm and 600 x 900 mm which was a perfect size to tile as there is a lot of choice in this size tile. The tile is a 600 x 600mm polished porcelain and creates a great finish. Please note the these slabs were put on a solid block frame that could support the weight.
One of the first questions people often ask is whether concrete makes a good countertop. The answer is a resounding yes! Concrete countertops are highly durable and resistant to scratches and heat. Plus, they can be customized with various colours, textures, and finishes. That means you can get a countertop that perfectly matches your bar’s vibe.
Before we dive into the nitty-gritty, it’s essential to know that making your own concrete countertop isn’t a walk in the park, but it’s totally doable if you’re up for a bit of DIY action. You’ll need some patience and a knack for detail work, but the results can be super rewarding.
A few initial considerations are crucial before kicking off your project. Think about the space you have, the setup of your bar, and the kind of look you’re going for. Planning ahead can save you a lot of time and hassle down the line.
In conclusion, concrete countertops offer a blend of style and functionality that’s hard to beat. With a bit of elbow grease and planning, you can craft a countertop that turns heads and stands up to everyday use. Ready to roll up your sleeves? Let’s get started!
Materials and Tools Needed
To get started on your concrete bar countertop, organizing your materials and tools is key. This section will help you gather everything you need for a smooth process.
First up, let’s talk materials. Yes, you can make your countertop with regular concrete, but there’s a catch. Standard concrete isn’t always the best choice for countertops because it can be a bit rough and hard to finish smoothly. Instead, go for a countertop-specific mix. Look for one with a mix of fine aggregates for a smoother finish.
So how thick should your countertop be? Generally, a thickness of around 1.5 to 2 inches is recommended. This provides both strength and a visually appealing edge. Anything thinner might compromise durability.
Don’t forget rebar! It’s strongly recommended for concrete countertops. While some DIY guides suggest skipping it, rebar or other forms of reinforcement ensure that your countertop won’t crack under pressure. Wire mesh is a good alternative if rebar feels too bulky.
Now for the tools. You’ll need a concrete mixer, trowels, a concrete vibrator (to remove air bubbles), and molds to shape your countertop. Safety gear is a must too—think gloves, goggles, and a mask to protect yourself from dust and debris.
Having these essentials on hand will set you up for success and make the entire project much more manageable. It’s always better to be over-prepared than caught lacking halfway through the job.
Step-by-Step Guide to Creating Your Concrete Countertop
Start with a solid plan. Measure your bar area carefully and sketch out your countertop’s dimensions. Remember, precision here saves headaches later.
Build your moulds using melamine or plywood. Melamine is a favourite because it’s smooth and easy to remove once the concrete sets. Make sure your moulds are sturdy and well-sealed to prevent leaks.
Prepare your concrete mix according to the manufacturer’s instructions. This is where choosing a countertop-specific mix pays off; they often come with easy-to-follow guidelines.
Pour the concrete into the moulds slowly. Use a concrete vibrator or tap the sides with a rubber mallet to eliminate air bubbles. This ensures a dense and smooth finish.
While the concrete is still wet, lay in your rebar or wire mesh. Keep it centered in the mix for optimal support. Remember, reinforcement is your best friend for avoiding cracks.
Let the concrete cure. This usually takes about 48 hours, but be patient. Rushing this step can compromise your work.
Once the concrete is set, carefully remove the moulds. This is a delicate process, so take your time to avoid chipping or cracking your new countertop.
Finish the surface by sanding it down. Start with coarse-grit sandpaper and gradually move to finer grits for a smooth finish. A wet polisher can make this easier and more effective.
Finally, ensure proper sealing. Concrete is porous, so a good sealer will protect it from stains and spills. Choose a food-safe sealer if your bar will be handling beverages or snacks.
Finishing and Customizing Your Concrete Countertop
Once your countertop has cured and you’ve removed the moulds, it’s time to give it that final touch of finesse. Smoothing the surface is the first step. Continuing from where you left off, use finer grit sandpaper or a wet polisher to achieve that glassy smooth texture. This step will prep your surface for any additional treatments or customizations.
Sealing your concrete countertop is non-negotiable. Concrete is porous, meaning it can absorb liquids and stains if left unfinished. Choose a high-quality, food-safe sealer that provides stain resistance and enhances the colour and texture of your countertop. There are typically two types: penetrating sealers, which soak into the concrete, and topical sealers, which form a protective layer on top. Both have their pros and cons, so pick one that suits your needs best.
Now, let’s get to the fun part—customizing your countertop. Adding tile to your concrete bar top can create a stunning look. Porcelain or mosaic tiles can be excellent choices, and you can also experiment with different patterns and colours to match your bar’s aesthetic. Use a strong adhesive and take your time laying each tile carefully. Grouting between the tiles seals the gaps and adds to the finished look.
To further personalize your countertop, consider adding embedded elements like glass pieces, stones, or even glow-in-the-dark materials for a unique, eye-catching finish. These can be mixed into the concrete during the pouring phase or set into the top layer right before it starts to solidify.
The last touch is ensuring functionality. Install accessories like integrated cutting boards, drainboards, or even a built-in sink. These additions can make your bar countertop both beautiful and incredibly useful, elevating your space from good to great.